Your Cart is Empty


We love family. We love food. And when the two come together it is Double D-licious, and it doesn't get much better than that!
This week we are introducing the first of our weekly food series. We are also introducing Jack who will edit and curate delicious and easy dishes, drinks and deserts special for Double D Ranch.
Who is Jack? Well, he is my son. A TCU graduate who scoffed at the suit and tie world and ran off to become a butcher.
Yep, a butcher.
You can read more of his story here, but in a nutshell:
He currently is in Denmark working with some of the top figures in the Neo Nordic gastronomic scene (yes, I am a proud mama) and learning all about ethical and sustainable harvesting. His dream is to come back to the States and start a verticle, ethical farm, and certified USDA facility. In the meantime, he is sleeping on a cot in a supply room, working his tail off and sending us pics and recipes for us to enjoy.
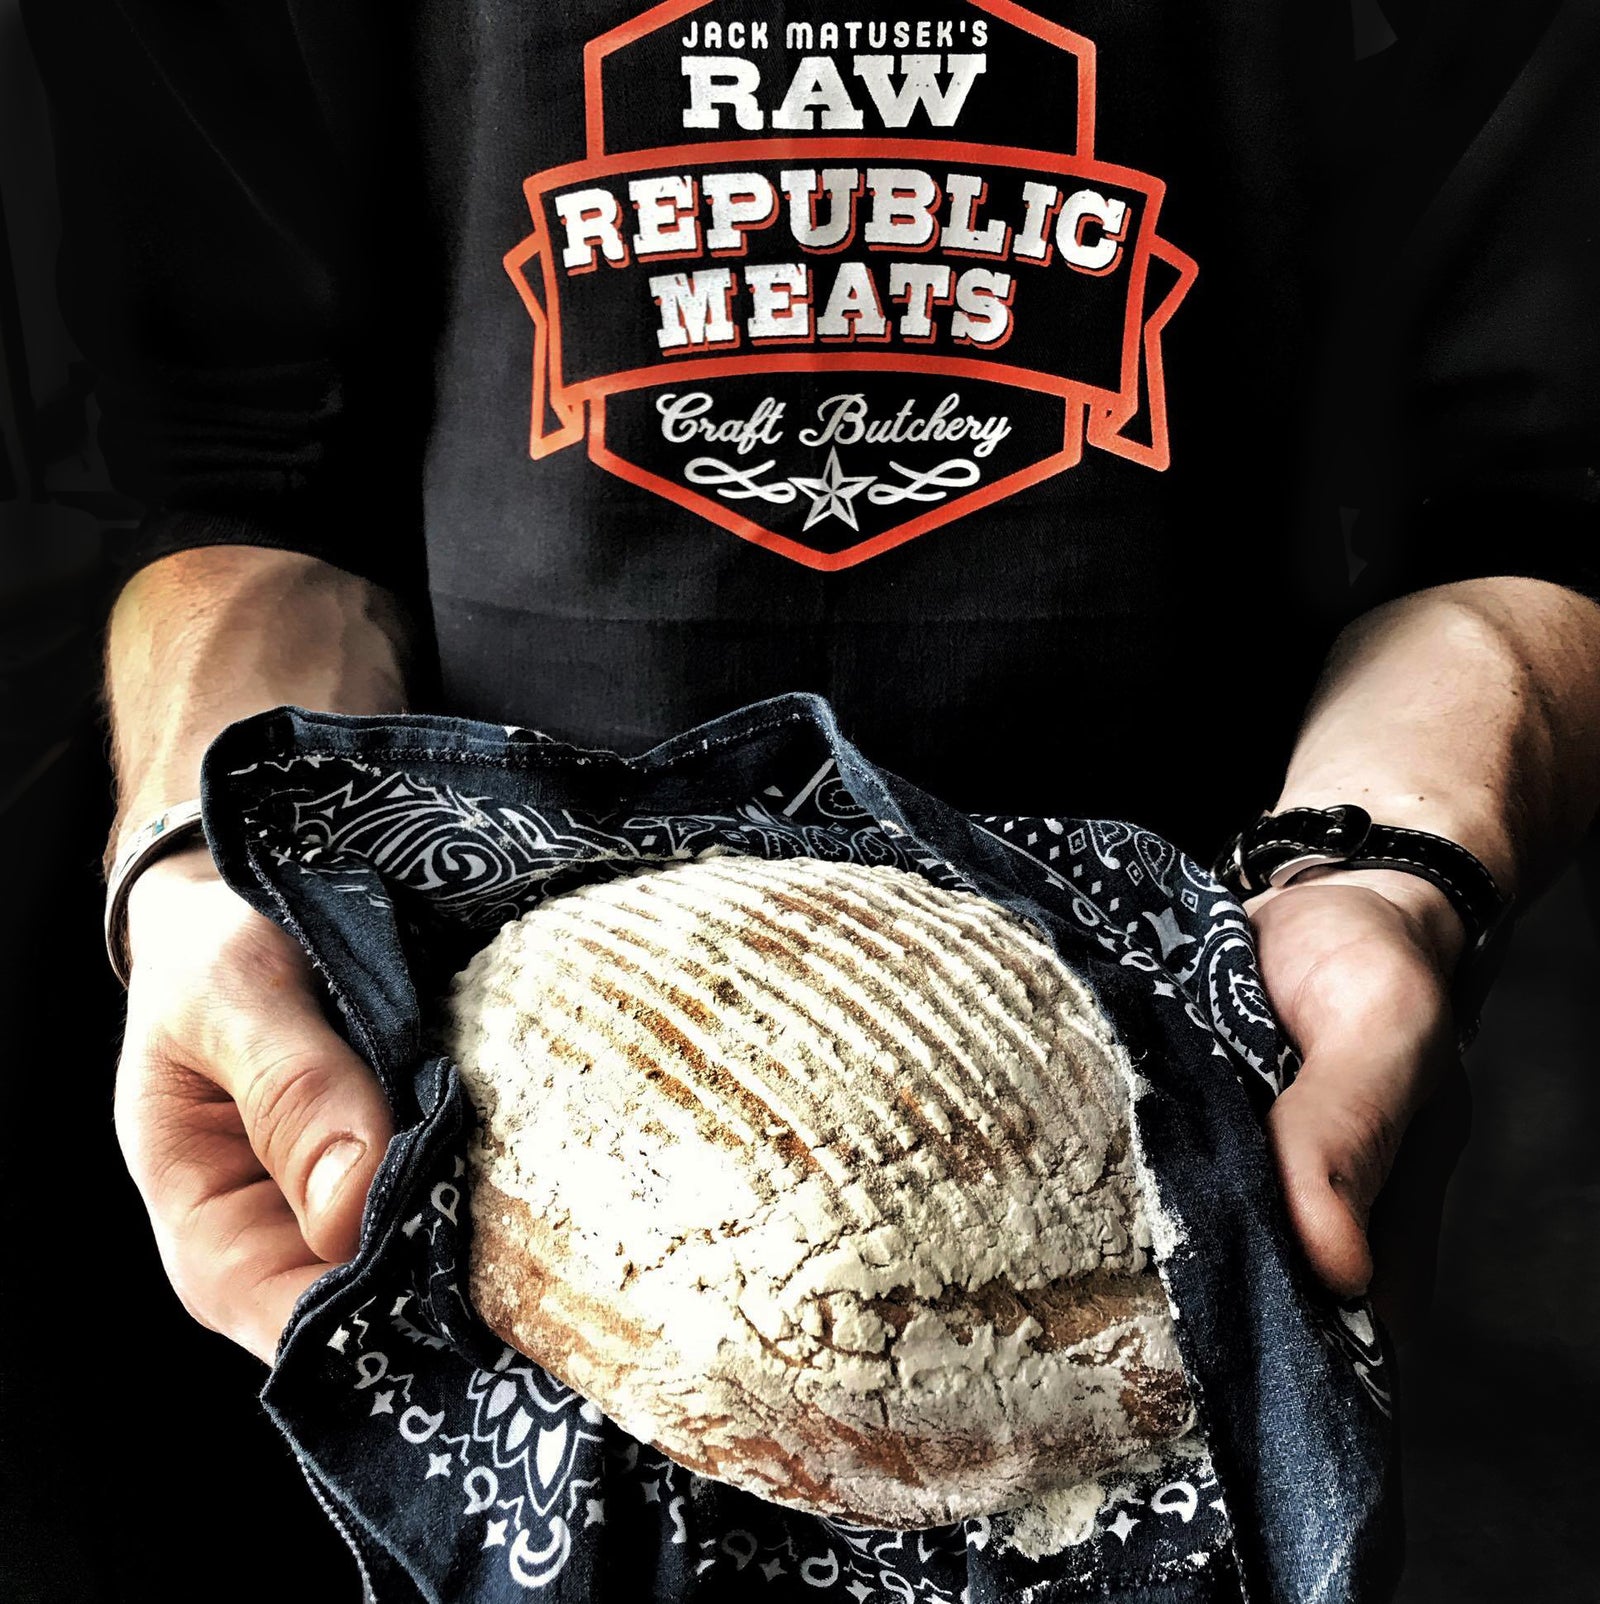
Jack, take it from here!


Side Note: All my recipes will measure ingredient weights in grams - the food world runs on this system, and it is imperative if you want consistency in the kitchen. Mom fought me on this one for years, until I broke her down. Just do it - go grab a food scale at your local grocery store for ten bucks.

Measure out all of your ingredients using a scale.

I start by letting my yeast dissolve in the water. If you are using fresh yeast, be sure to tear it into small pieces, so it dissolves quickly.

Once the yeast has dissolved, combine the water/yeast mixture with the flour. Allow the mixture to autolyze for 30 minutes, then add the salt.

When I first started baking, I mixed everything by hand, but I've now come to rely on large, industrial mixers. If this is your preferred method, mix until the dough sticks to the hook and makes a loud "clapping" sound - this sound change lets you know the dough is ready. (~10 minutes) If mixing by hand, be sure to use the "Pincher" method. You will know i t is ready when the gluten fibers break by squeezing the dough with your index finger and thumb together.Cover your dough container with a cloth and let it rest for an hour.

Fold the bread by reaching underneath the dough and raising your hand to eye-level, letting the dough slowly fall back into the container. No kneading, just a fold over. Now, cover your bowl and let the dough rest another hour before folding an additional time.

After the second fold, allow the dough to rise for two to three additional hours.

Divide your dough into loaves and place in lightly dusted proofing baskets.

Allow your loaves to proof (rise) for an additional 45 minutes. At this time, I like to get a dutch oven preheated in the oven - crank it up to 450F.

When ready, carefully remove the dutch oven from the oven and place your loaf inside. Bake the loaf in the dutch oven at 450F for 20 minutes, then remove the lid and bake an additional 10 minutes at 400F until the crust is crispy and golden.

This is a new project for us and we are in the learning stages so critiques are welcome. Ask Jack questions about anything - recipes, cuts of meat, ethical harvesting, sustainable ranching, or even about his travels. We are excited about sharing Jack's recipes and his culinary adventures you -
Bon Appetit!

Comments will be approved before showing up.


Sudi Freeland
October 26, 2017
My husband has been making a similar loaf for years—best bread ever! Thanks for sharing this version.